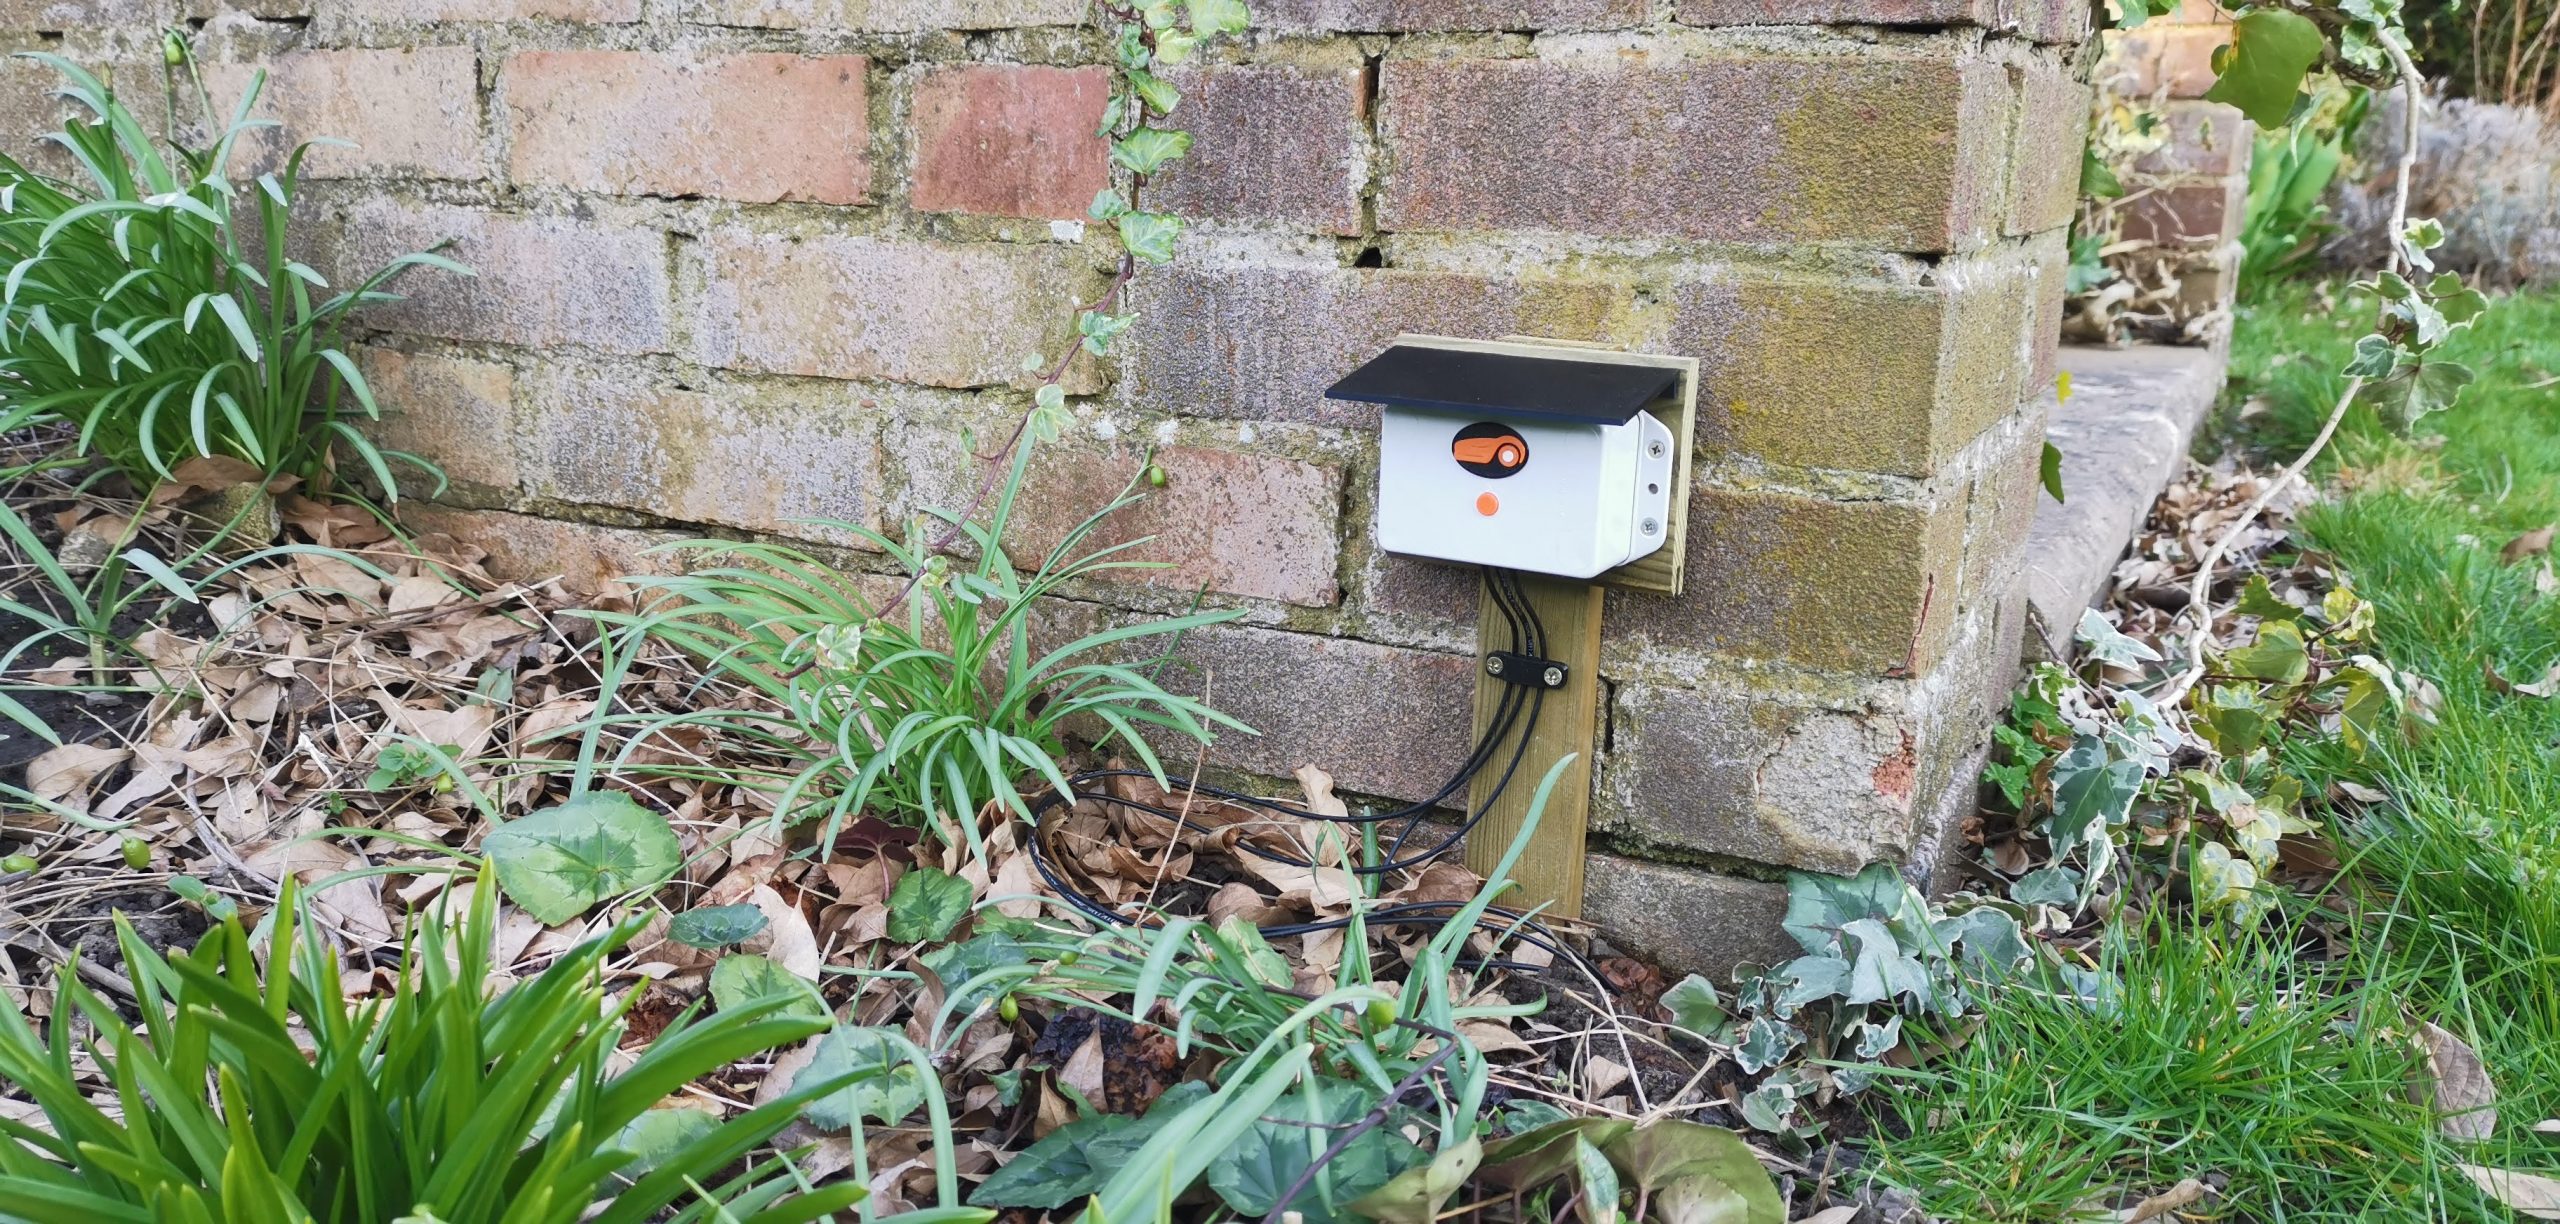
This is the first of a series of blog posts I thought would be of interest to anyone who owns or installs robotic mowers like the Stihl iMow. I have been installing robotic mowers for ATS Machinery for a number of years now and most of the time they are fairly straightforward. On the odd occasion, I had customers ask me for a way to stop the machine from mowing their spring flowers or staying clear of fruiting trees but be able to switch back to mowing the area once that time of year had passed. I looked at several options and ways of doing this but most were crude and not very easy to implement, so, as nothing was available on the market and having a long love of computers, electronics and all things tech I decided to develop something myself.
Starting with the main requirements:
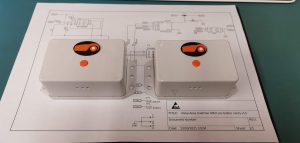
1) It had to be small and compact enough to be able to be placed around the mowing area and not stick out like a saw thumb or get in the way of the robotic mower.
2) It had to be suitable for continual use outside.
3) It needed to be simple to use.
4) It needed to be simple to connect up even to a previous installation without an isolated area.
5) And most importantly it needed to be reliable and long-lasting and very low power ie able to run on one battery for a very long time.
On this last point, I felt it important to make a device that was kind to the environment, would run on a single battery for a very long time, and be repairable if need be and not throw away! I have had a long interest in making very low-power electronics as I feel we use far more power than necessary just because it takes a little extra effort and cost to design a device that is very lean on power. It has become one of my passions to squeeze the most out of an electronic project and make it run on very low power for long periods of time thus helping the environment and our pockets!
Also, making this fully serviceable was a way of reducing landfill and helping my customers save money by not having to chuck stuff in the bin that is otherwise perfectly repairable for a minimal cost.
So it was time to draw up some schematics and break out the breadboard for some electronics prototyping to get all the above working before designing the PCB (printed circuit board).
More on this stage in the next blog post. Thanks for reading.
Comments